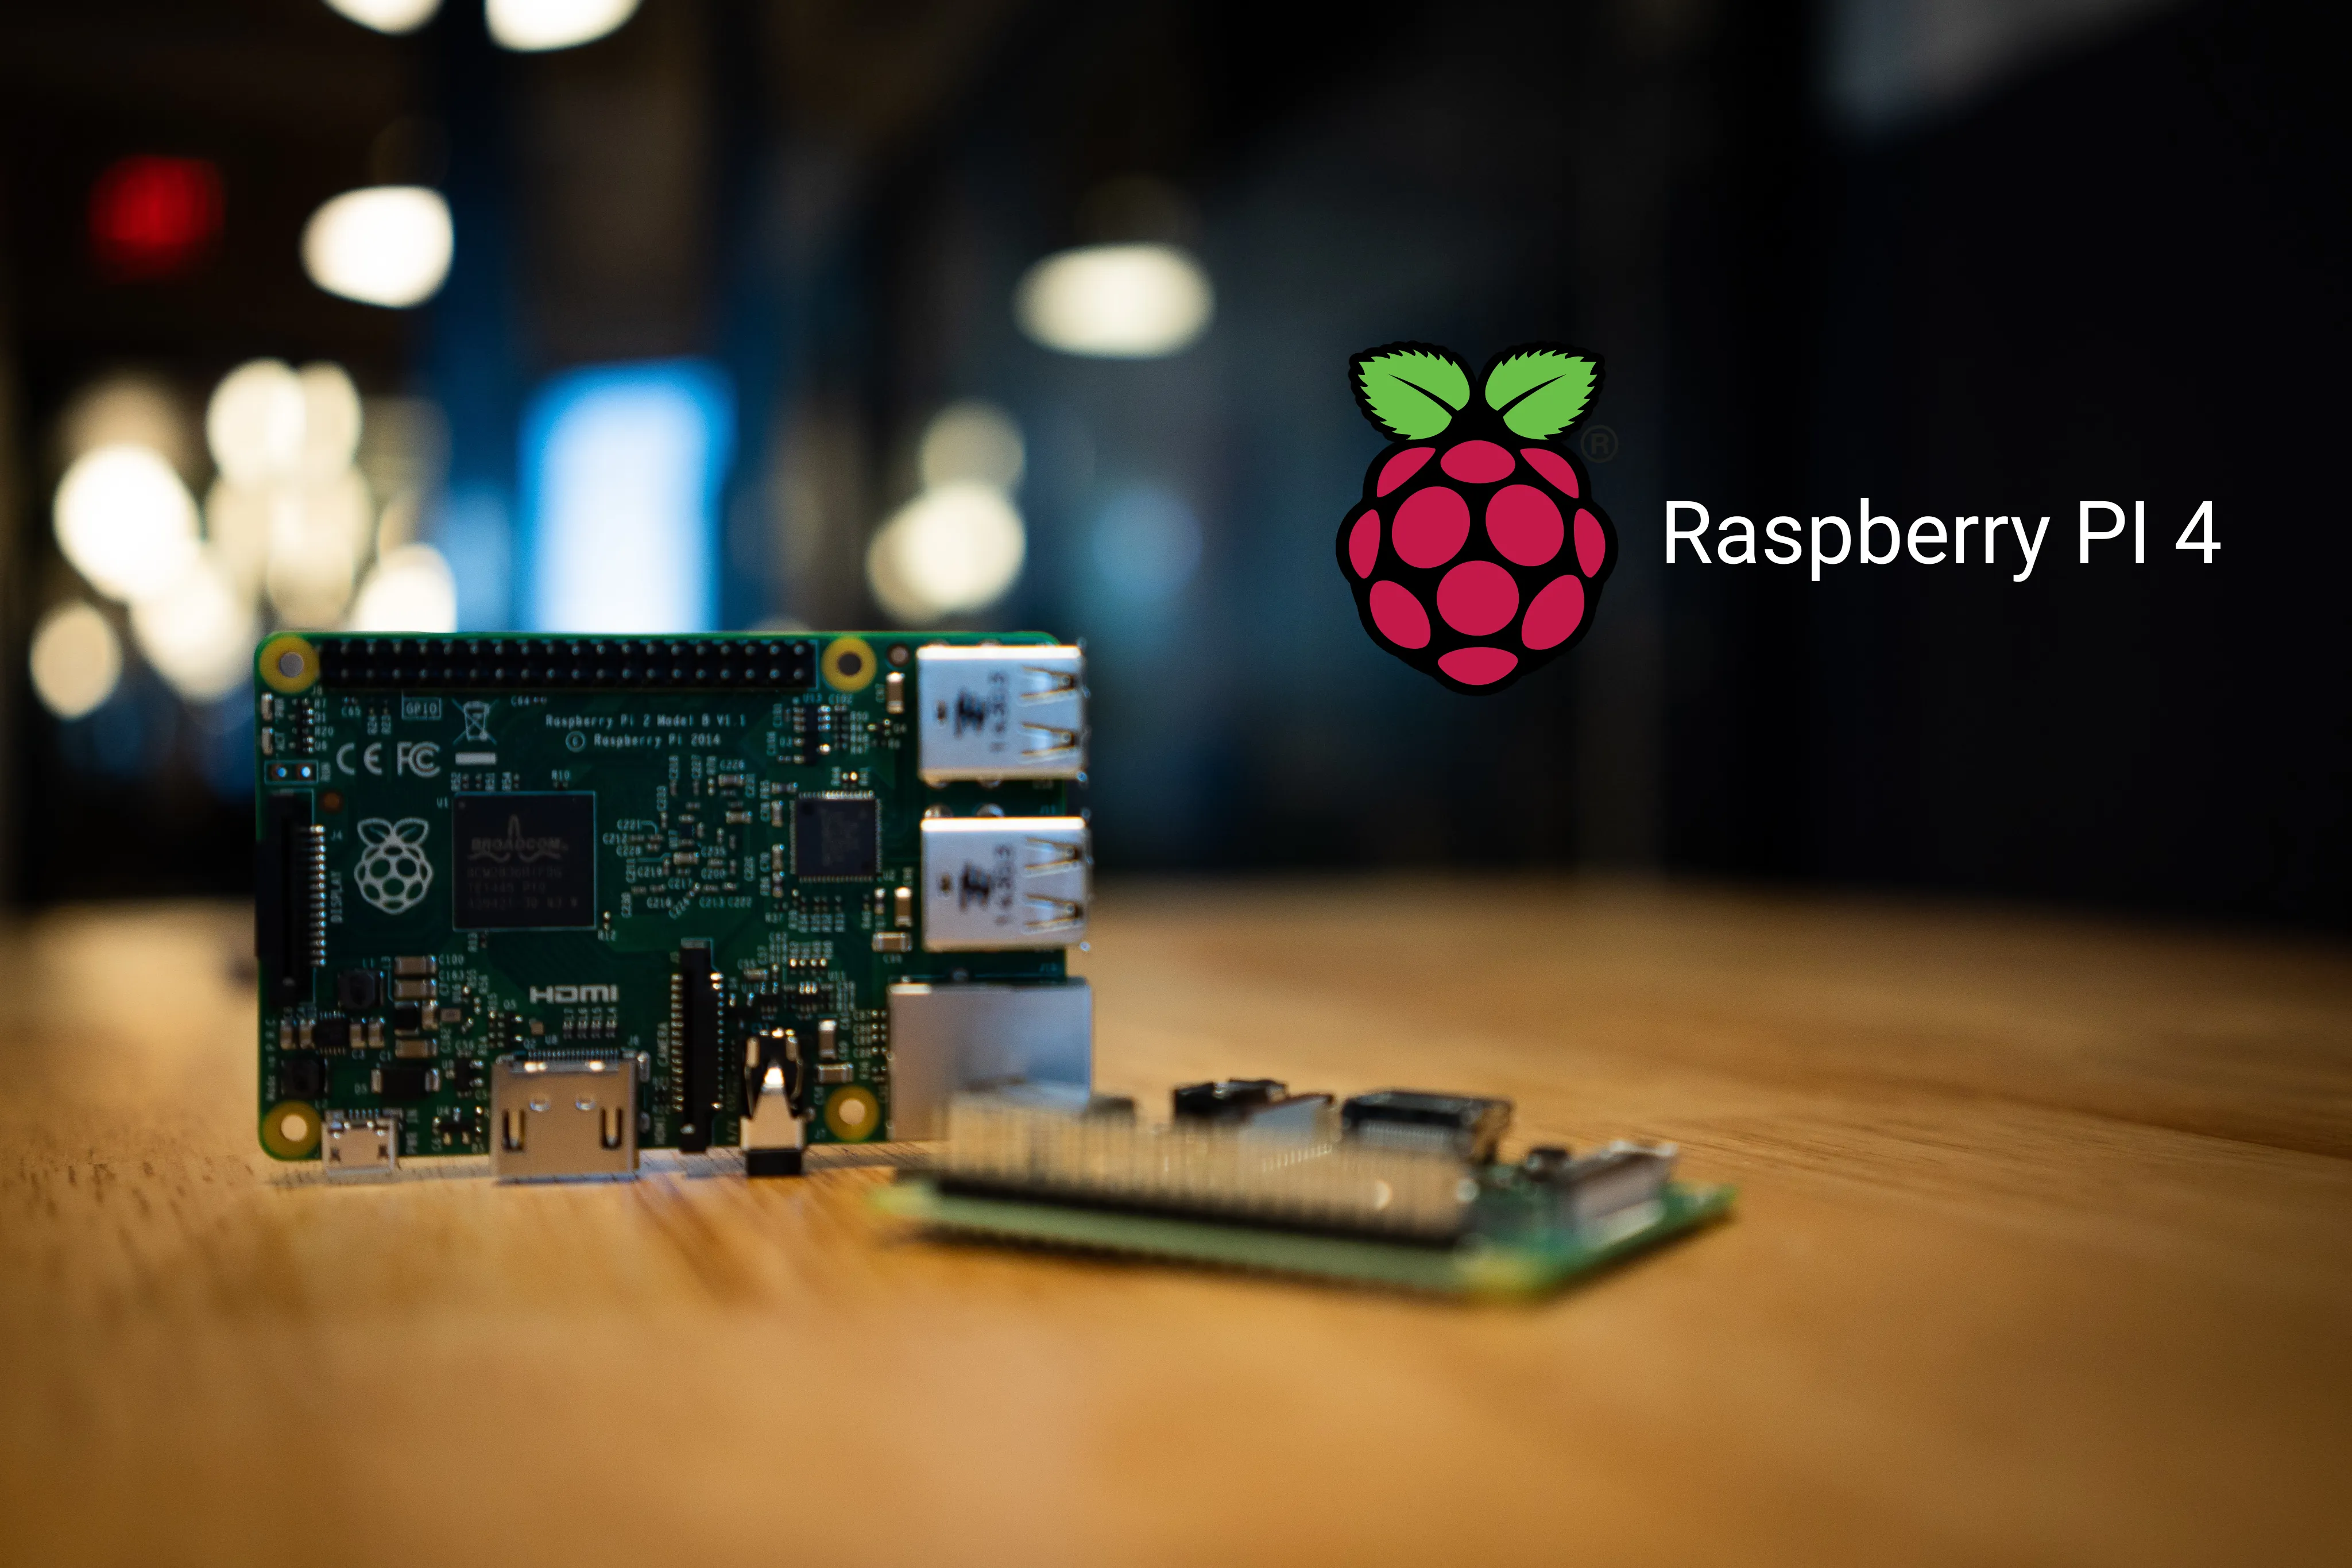
Setting up your Raspberry PI 4 - Headless mode
Updated · originally #raspberry-pi#home-lab4 min read
When I first got my Raspberry PI 4 (RPI for the rest of the article), I was excited to get started. There was one problem: I didn’t have the right cable to connect its micro-HDMI port to a monitor.
The current headless setup is much easier than it was in 2020. Raspberry Pi Imager can configure the account, Wi-Fi, hostname, and SSH before the first boot. This guide shows that process, then connects over SSH and optionally enables a remote desktop over VNC - all without an external monitor 🙂
Specs
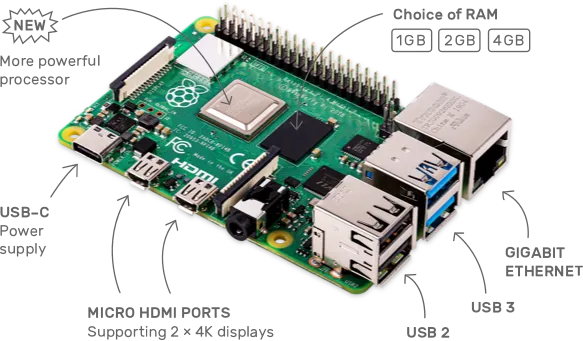
Source: Raspberry Pi 4 Model B product page
Step 1 - Installing an OS
Download and install Raspberry Pi Imager on your computer. Insert the microSD card, open Imager, and choose:
- Device: Raspberry Pi 4
- OS: Raspberry Pi OS (64-bit). Choose the Desktop image if you want VNC, or Lite if you only need SSH.
- Storage: Your microSD card
Before writing the card, use OS customisation in Imager to set:
- A hostname, such as
rpi4 - Your own username and a strong password
- Your Wi-Fi SSID, password, and wireless LAN country
- SSH access, preferably with public-key authentication
Write the image, safely eject the microSD card, insert it into the RPI, and power it on.
Older guides tell you to create an empty ssh file in the boot partition and sign in as pi with the password raspberry. That default user no longer exists. The empty file can enable SSH on some images, but it does not create login credentials. Configure both the user and SSH in Imager instead.
Step 2 - Connecting the RPI to LAN
If you configured Wi-Fi in Imager, Ethernet is optional. Otherwise, connect the RPI to your router with an Ethernet cable and give it a few minutes to complete its first boot.
First, try the hostname you configured followed by .local, such as rpi4.local. If that does not resolve, look in your router’s DHCP client list for the RPI’s IP address. On macOS or Linux, arp -a can also help you identify recently discovered devices on the LAN.
Keep either the hostname or IP address for the next step.
Step 3 - SSH in to your RPI (Headless mode)
Open a terminal on macOS, Linux, or current versions of Windows and connect with the username and hostname you configured in Imager:
ssh <username>@rpi4.localIf .local does not resolve, use the IP address instead:
ssh <username>@<your-rpi-ip>Accept the host key on the first connection. Then authenticate with the password or SSH key you configured in Imager. There is no default pi username or raspberry password on current Raspberry Pi OS images.
There’s only a single step remaining to get in to your RPI’s desktop environment.
Step 4 - Connecting to RPI with VNC
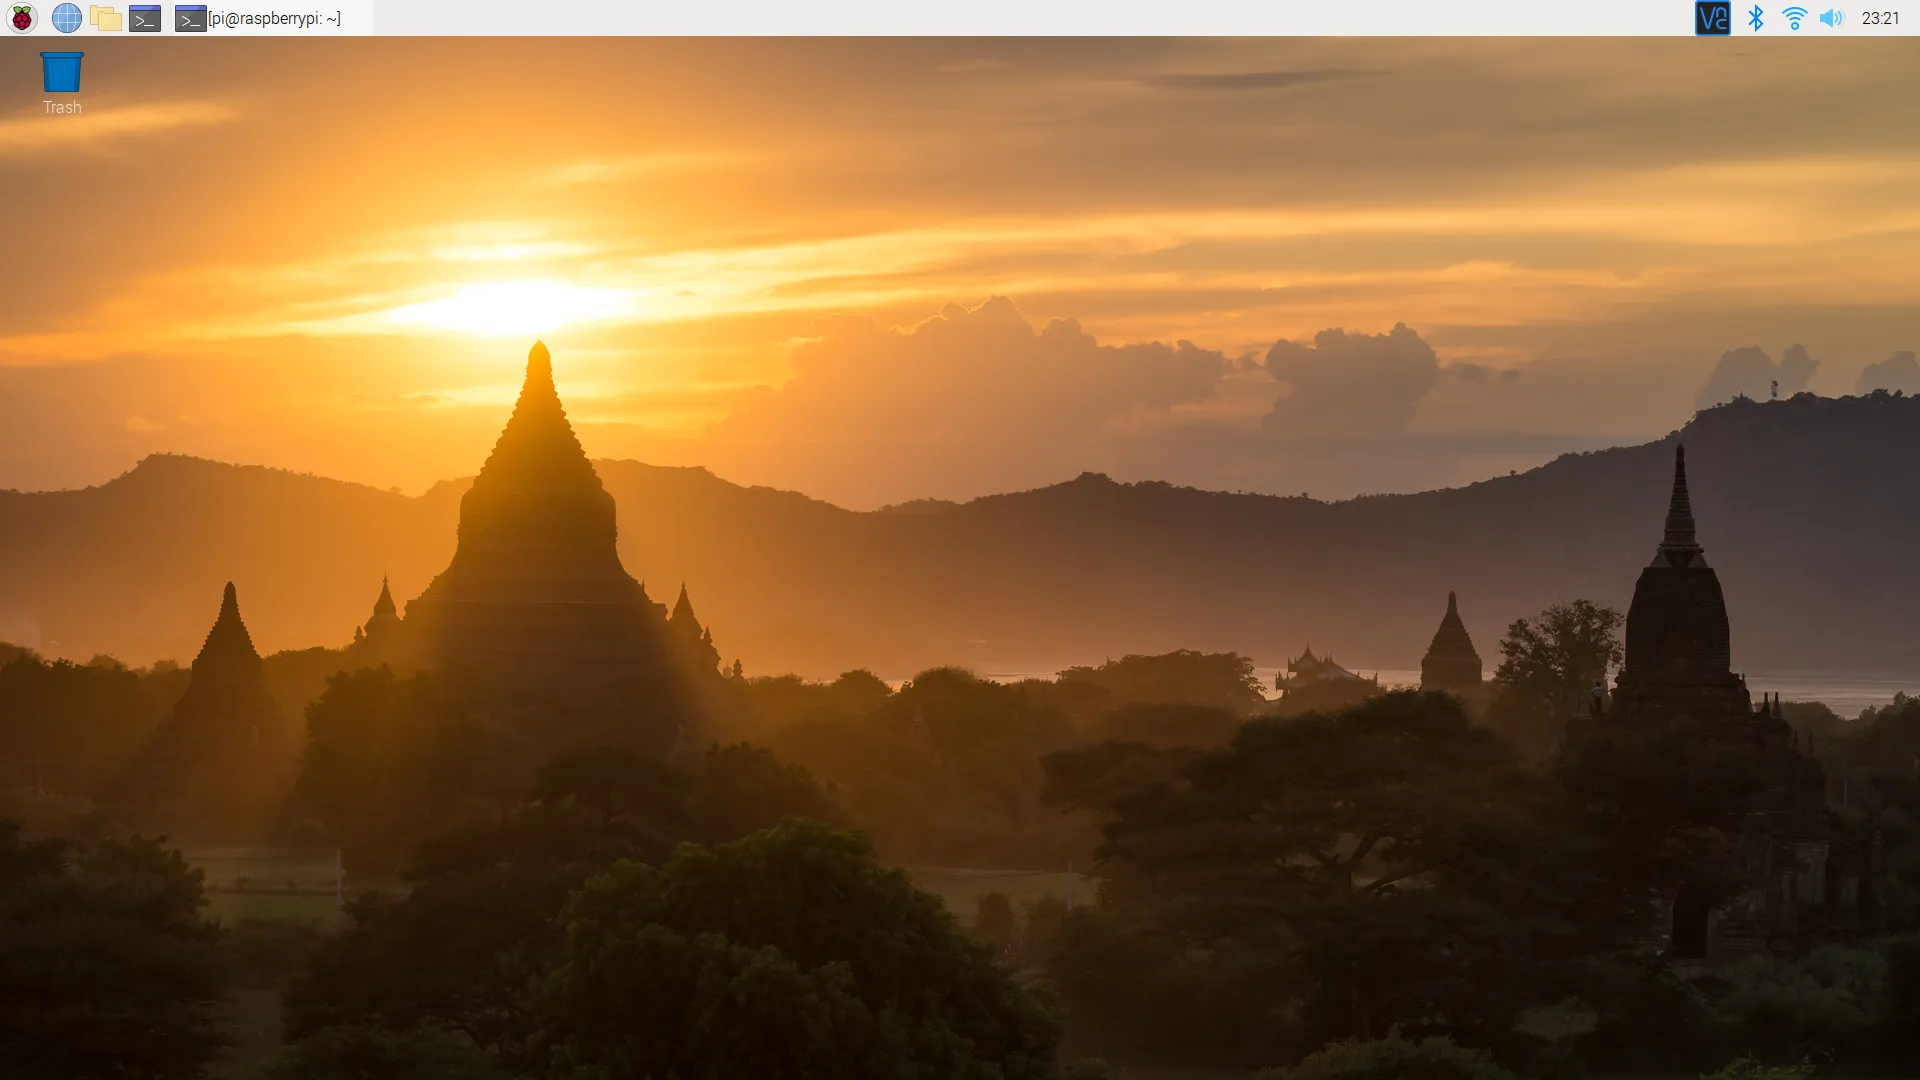
If you installed Raspberry Pi OS with Desktop, you can also use the graphical interface remotely. Current Raspberry Pi OS includes a VNC server, so you do not need to install the old RealVNC server packages from earlier versions of this guide.
While connected over SSH, update the system and open the configuration tool:
sudo apt update
sudo apt full-upgrade -y
sudo raspi-config
Enable VNC Server:
- Navigate to Interface Options.
- Select VNC, then choose Yes.
If you are using the RPI without a monitor, you can also set a virtual VNC resolution from raspi-config. For example:
sudo raspi-config nonint do_vnc_resolution 1920x1080Reboot the RPI for the changes to take effect:
sudo rebootInstall a compatible VNC client such as TigerVNC on your local machine. Open the viewer, enter rpi4.local or the RPI’s IP address, and sign in with the username and password you configured in Imager.
If you provisioned Wi-Fi in Imager and initially used Ethernet, confirm the wireless connection works before unplugging the cable.
Hope this article helped you. In my next article, we will see how you can configure your own Kubernetes cluster on your RPI!
Enjoy your new Raspberry PI 🥧
With SSH working and a reliable hostname or address, the Pi is ready for something to run on it. Building your own private Kubernetes cluster on a Raspberry Pi 4 with K3S picks up from exactly this point.