Publishing Android Apps to Microsoft App Center from Azure DevOps
In my previous article, we looked at how we can set up multi-stage builds for an Android app with Azure DevOps. In this article, we will be looking at distributing this app to App Center for internal testing.
💡 Note: that this a continuation of my previous blog article, Multi-stage builds for Ionic Apps with Azure Pipeline Templates. I suggest you go through it if you haven’t already.
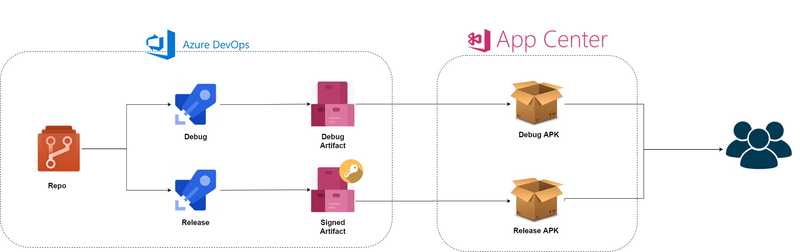
Let’s look at what we are going to be building today. As always, you can find the complete source code in here.
What is Microsoft (Visual Studio) App Center?
Microsoft App Center is a platform where you can build, test, distribute and monitor your mobile apps. The beauty of this is that you can use it as a place to distribute your apps for a target user group for beta testing your app - similar to TestFlight but you can do it for multiple apps.
Creating a new app in App Center
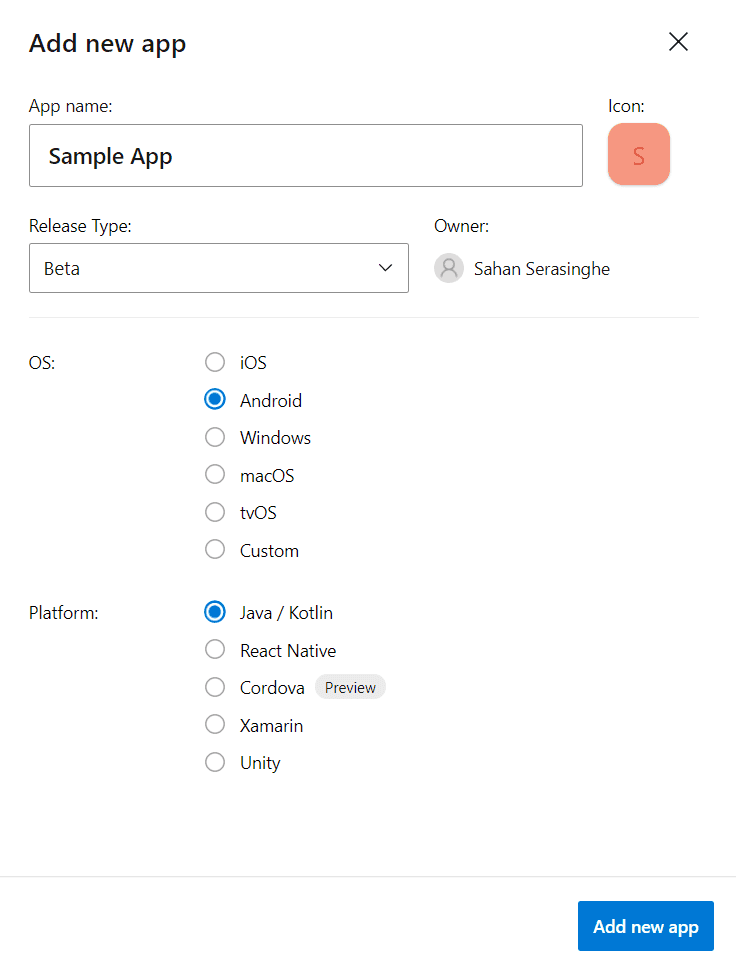
To get started, head over to https://appcenter.ms/apps. If you haven’t already got an app created in App Center, we first need to do that. You could either create it under an Organization or a User. In my case, I have created it under my user account. The details look like this.
Creating a Service Connection
Before pushing our signed APK to the App Center, we need to create a link between the Azure DevOps instance and the App Center tenant. For that, we will be creating a service connection so that the build agent has necessary credentials to make this link work and where to put the latest build.
There are two parts to getting a service connection.
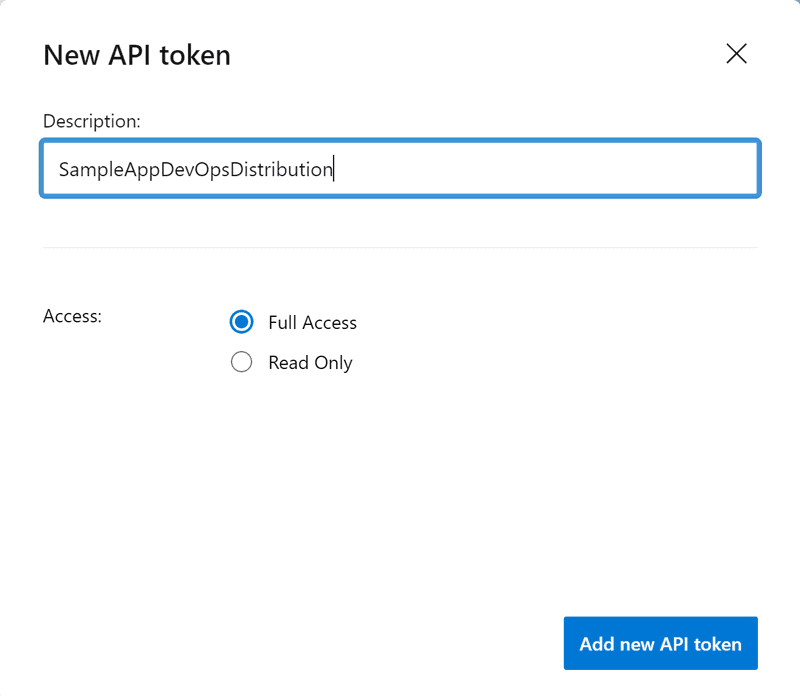
First, we need to generate an API token which will be used by the AppCenterDistribute task. Let’s do the following steps in the App Center.
- Click on Profile Icon (top-right corner)→ Account Settings → User API Tokens.
- Click on New API token button.
- Give it a memorable description
- Select Full Access as for Access option.
💡 Tip: Make sure to copy the API token as we will need it for our next step.
Once that’s done, let create the service connection in Azure DevOps.
- Navigate to your project’s settings → Scroll down until you find Service connections. At the time of writing, it could be found under
https://dev.azure.com/{your directory}/{your project name}/_settings/adminservices - Click on Create service connection.
- Type in “App Center” in the search box and select Visual Studio App Center from the list.
- Full in the details of the service connection pop up, as shown below. Make sure to keep the Server URL as it is.
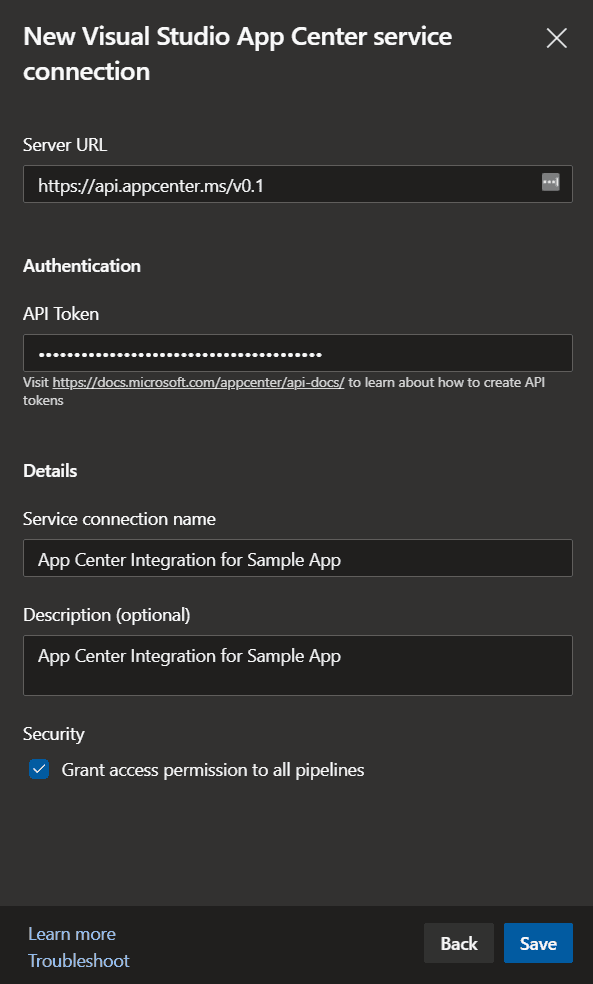
Now we can use this service connection to deploy our app from Azure DevOps to the App Center.
Configuring the deploy task
We will first look at configuring the deploy task for the Debug build. We will add a new “Deploy” stage and continue from there.
The latest additions to the azure-piplines.yml will look like follows.
...
- stage: Deploy
    displayName: Deploy Debug and Release Apps to App Center
    dependsOn: Build
    jobs:
      - deployment: Deploy_Android_Debug
        variables:
          buildConfiguration: Debug
        displayName: Deploy Android - Debug App
        pool:
          vmImage: $(vmImageName)
        environment: Staging
        strategy:
          runOnce:
            deploy:
              steps:
                - template: ionic-android-debug-deploy.yml
                  parameters:
                    appCenterServiceConnection: 'App Center Integration for Sample App'
                    appSlug: '{username}/{appname in App Center}'
                    appFile: '$(Pipeline.Workspace)/$(projectName)/app-$(buildConfiguration).apk'
                    releaseNotes: 'Debug App'
I’m not going to do this for release build as it will be the same configuration but a different app slug.
💡 How do I find the app slug? Go to your app’s overview page in App Center and take note of the URL; the app slug would be {your org or user name}/{app name}
Let’s create a new file for the ionic-android-release-deploy.yml for the App Center deployment.
parameters:
  - name: appCenterServiceConnection
    displayName: 'Name of the service connection with App Center'
  - name: appSlug
    displayName: 'Path to application in AppCenter'
  - name: appFile
    displayName: 'Path of the apk to deploy'
  - name: releaseNotes
    displayName: 'Release notes'
  - name: deployMobileAssets
    displayName: "Deploy Mobile Assets"

steps:
  - task: AppCenterDistribute@3
    inputs:
      serverEndpoint: '${{ parameters.appCenterServiceConnection }}'
      appSlug: '${{ parameters.appSlug }}'
      appFile: '${{parameters.appFile}}'
      symbolsOption: 'Android'
      destinationType: 'groups'
      releaseNotesOption: 'input'
      releaseNotesInput: '${{parameters.releaseNotes}}'
    displayName: 'Distribute to App Center'
The configuration for the release app will be the same in our case. So I am going to skip to keep things simple.
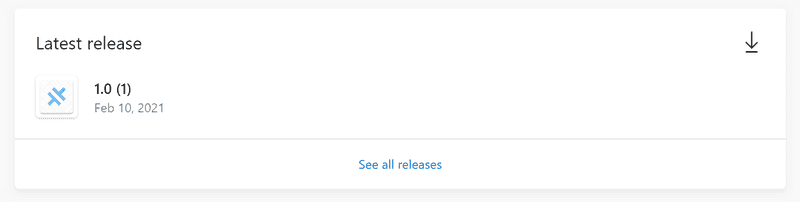
Once the pipeline runs, you should be able to see your brand new app release in the App Center 😎 Pat yourself on the back! Rest is easy.
Deploying our app for internal testing
App Center has the concept of adding collaborators to your app. This means that you can share your app with others by inviting them via email addresses. The official docs explains the concepts behind creating teams for your app.
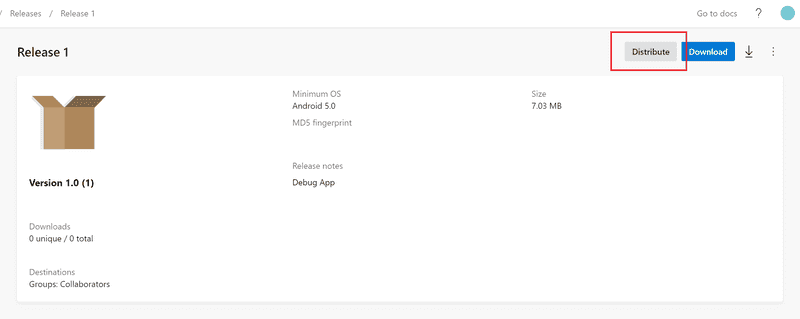
When you have a release under your app, you could then distribute it to your team members by going to the “Distribute” on the left sidebar.
You can either create a new release from an existing release artifact or decide to distribute the release you have already got there.
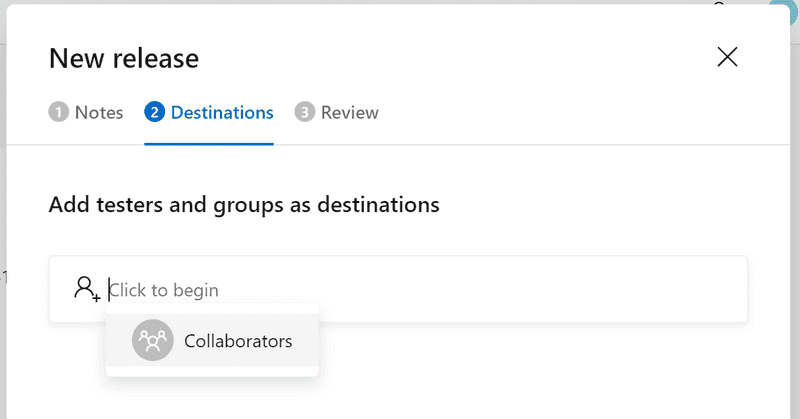
When adding user groups for testing, you can add the teams you have already created for your app or directly share it with their email address. Once you hit Submit, they will receive an email to directly download the APK to their phone, install and run the app.
Conclusion
This article continued building upon our previous azure-pipelines.yml file and looked at how we can deploy our app to App Center for distribution. I hope this was helpful. Until next time 👋