Building a gRPC Client in Go
Introduction
In this article, we will take a look at how to create a simple gRPC client with Go. We will be using this client to interact with the gRPC server that we created in my previous post. So let’s get into it!
Motivation
This is the fourth part of an articles series on gRPC. If you want to jump ahead, please feel free to do so. The links are down below.
- Introduction to gRPC
- Building a gRPC server with Go
- Building a gRPC server with .NET
- Building a gRPC client with Go (You are here)
- Building a gRPC client with .NET
Please note that this is intended for anyone who’s interested in getting started with gRPC, therefore, we will keep things simple.
Plan
The plan for this article is as follows.
- Scaffold the client-side stubs and go modules
- Implementing the gRPC client
- Communicating with the server
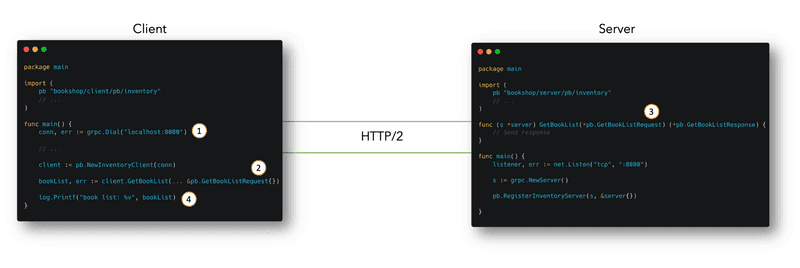
In a nutshell, we will be generating the client for the server we built in our previous post.

In the above diagram, we will look at how to achieve the components on the left side.
💡 As always, the completed code can be found at: https://github.com/sahansera/go-grpc/tree/main/client
Creating client-side Stubs and Go modules
We will be using the same Protobuf files that we generated in our previous step. If you haven’t seen that already head over to my previous post.
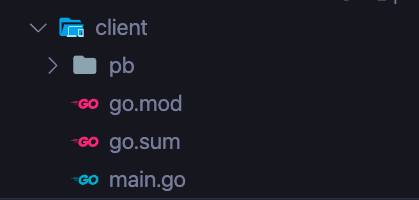
We will create a new folder called client at the root of the project and initialize it with a new Go module.
mkdir client && cd client
go mod init bookshop/client
Once we have the go modules we can now generate the Protobufs for the client side.
protoc --proto_path=proto proto/*.proto --go_out=client --go-grpc_out=clientThis is very similar to our previous blog post.
Implementing the gRPC client
Now that we have the modules we can go and implement the code for the client.
In order for us to talk to the server, we first need to create a connection. For that, we can use the grpc.Dial() method.
💡 Note that we are not using TLS here, however, in production environments you must!
The rough skeleton of the client code looks like the following.
// ...
func main() {
	conn, err := grpc.Dial("localhost:8080", grpc.WithTransportCredentials(insecure.NewCredentials()))

	// Code removed for brevity

	client := pb.NewInventoryClient(conn)

	// Note how we are calling the GetBookList method on the server
	// This is available to us through the auto-generated code
	bookList, err := client.GetBookList(context.Background(), &pb.GetBookListRequest{})

	log.Printf("book list: %v", bookList)
}
The explanation of this code is as follows:
grpc.Dialis a way to create a client connection to a given target. In our case, we can send in the path of our server along with its port. Note how we are passing in an option to turn off TLS by usingWithTransportCredentials- We then call the server procedure/method just as you’d normally do when calling a local method in your program. This is the thing that sold me on gRPC because we know exactly what we have to pass and how to invoke the call.
- Now on the server side, we have a request handler that will respond to the incoming requests.
- We finally log the response that we got from the server.
Communicating with the server
And in the terminal, we will get the following outputs.
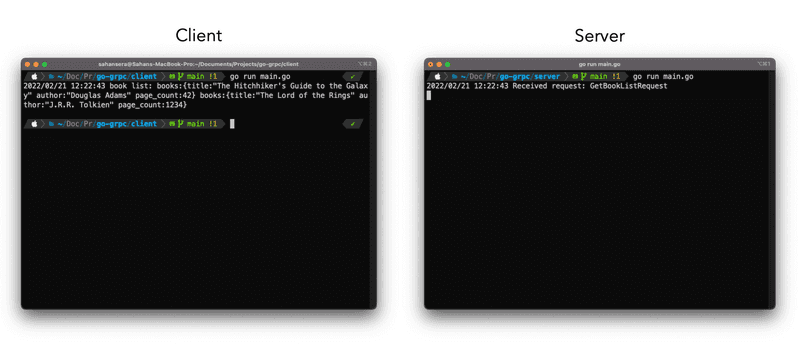
Nice! as you can see it’s not that hard to get everything working 🎉 One thing to note is that we left out the details about TLS. But I guess, that will be posted for another day 😊
Conclusion
In this article, we looked at how to reuse our Protobuf files to create a client to interact with the server we created in the previous post.
I hope this article cleared up a lot of confusion that you had about gRPC. Please feel free to share your questions, thoughts, or feedback in the comments section below. Until next time 👋