Deploying a .NET gRPC Server on Azure App Service
In this article we are going to be deploying a gRPC web service written in .NET to an Azure App Service. We will then interact with it and also automate deployment process of the Azure resources and the build.
Introduction
About a few months ago I wrote a blog series on creating a simple gRPC server and a client locally. This time we are going to take the next steps by deploying it to the cloud.
If you missed the series you can get yourself up to speed with the below links 🚀
Walkthrough video
If you like to watch a video walkthrough instead of this article, you can follow along on my Youtube channel too 😊
The Plan
- Clone the above repo.
- We will create an App Service instance on Azure and deploy it (automated).
- Getting ready for deployment.
- Deploying the BookshopServer code.
- Testing the web service.
1. Clone the repo (or build one)
Since we already have an app in handy we are going to use the same thing and make this work. More specifically we are going to use the exact code we looked at in the Building a gRPC Server in .NET blog post.
💡 The code can be found under this repo.
We are going to be using the BookshopServer as our web service and BookshopClient as the client to interact with it.
Once you have it cloned, you can set the branch to app-service with,
git checkout app-service2. Create an App Service instance in Azure
You can head over to portal.azure.com and create the App Service instance manually or you could use the ARM template down below.
💡 To save you some time and trouble, I’d stay away from the F1 tier - it was unreliable for me and had a hard time deploying my code. I went ahead with B1 (and you get 30 days free for Linux). It costs you a little bit, but heaps more reliable for Dev/Testing work.
ARM template for easy deployment
If you haven’t got az cli head over here to get it set up. Once installed, do a az login and select the account you want to use for deployments.
I have created a shell script to automate all the steps. This is the usage of the script.
cd BookshopServer/Infrastructure/
./deploy.sh net6-grpc australiasoutheast template.json parameters.json
The parameters to pass in are as follows:
- Resource group name (eg:
net6-grpc) - Region you want to create the resources in (eg:
australiasoutheast) - Name of the ARM template file (eg:
template.json) - Name of the parameters file (eg:
parameters.json)
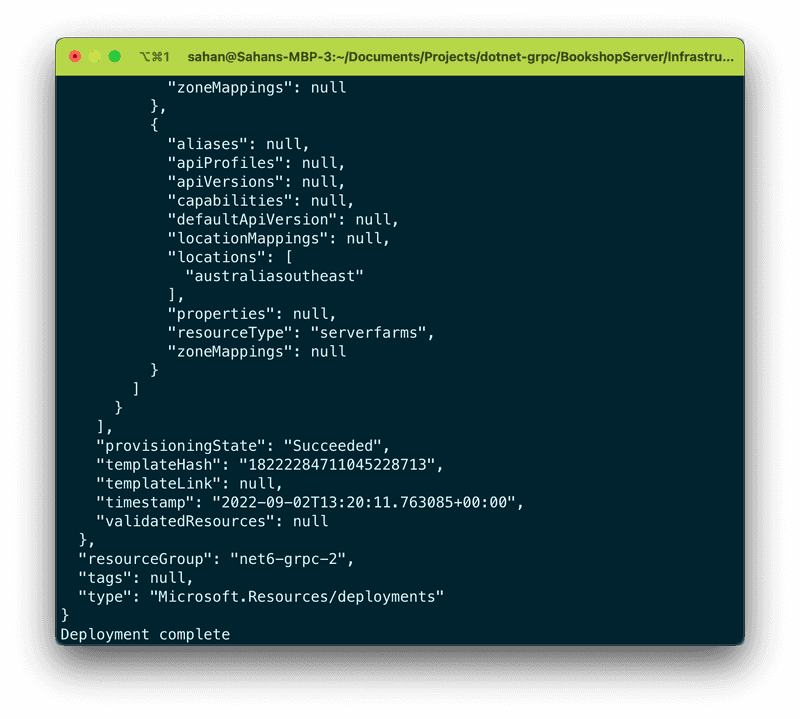
If you are unsure, you can see what’s what just by typing ./deploy as well. Once deployed, you should be able to see something like below.

App Service configuration
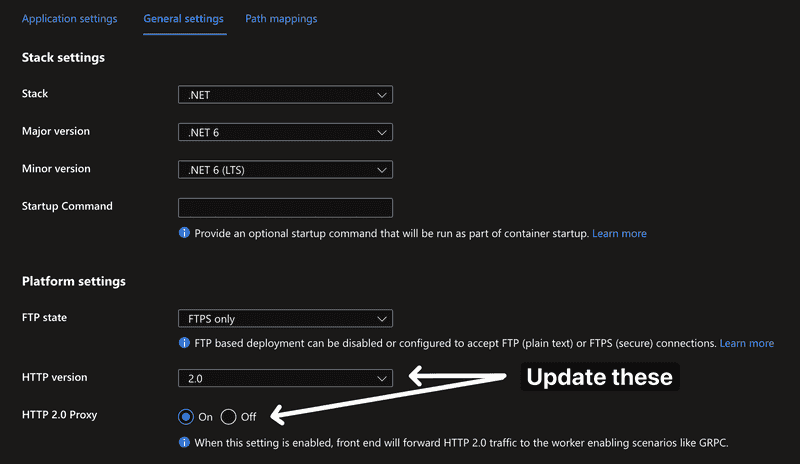
The ARM template takes care of most of the configuration for us. However there’s one more thing that we need to enabled, called HTTP 2.0 Proxy
This is what your configuration should look like:

3. Getting ready for deployment
Before we do any deployment there are a couple of things we need to change in our code. These are all done for you in my repo. But for the curious,
Add/Update the configuration to tell Kestrel to listen on all IPs on port 8080 and also on port 8585 but with HTTP 2.0 only.
// ...
builder.WebHost.ConfigureKestrel(options =>
{
  options.ListenAnyIP(8080);
  options.ListenAnyIP(8585, listenOptions =>
  {
      listenOptions.Protocols = Microsoft.AspNetCore.Server.Kestrel.Core.HttpProtocols.Http2;
  });
});

// ...
Now that we have that config we no longer need the configuration specified in appSettings.json. Let’s remove the following lines like so.
BookshopServer/appSettings.json
...
// Delete the following lines
"Kestrel": {
    "EndpointDefaults": {
      "Protocols": "Http2"
    }
  }
...
4. Deploying the BookshopServer code
Let’s go ahead and deploy our code! 🚀 There are many ways to do this. If you are setting it up for testing you can simply deploy from your local Git repo. To keep the scope of this blog post small I’m not going to be covering other continous deployment methods. Let me know if you like me to cover them too!
You can follow these steps from the official docs to quickly deploy from locally. There are some configurations that you need to do.
-
Go to you app service instance > click Deployment Center
-
Select Local Git from the Source dropdown
-
Click Local Git/FTPS Credentials
-
Set a username and a password under User Scope
-
Hit Save
-
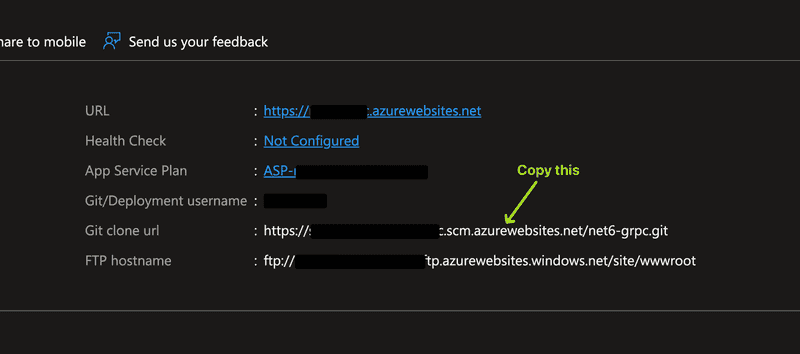
(Important) Go back to the app service Overview
-
Copy the URL under Git Clone URL

-
Go to your local repo
-
Do a
git remote add azure <Git URL you copied before> -
Change deployment branch with
git push azure <local branch name>:master
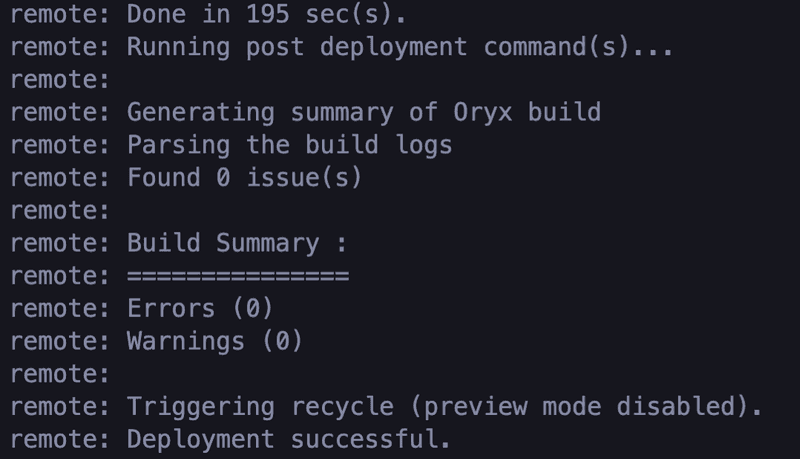
This might take a couple of minutes for the initial deployment. After the last step you should be able to see a log like so:

Although it my seem a little daunting at first, this is only a one-off config. For any code changes you make, you just need to commit your changes to your local branch and then do a git push like we saw in step 10 above.
5. Testing the web service
Now to the interesting part. Let’s see how we can interact with our web service 🤔
For some reason I couldn’t get grpcurl to work, thankfully, we already have the BookshopClient project - so let’s use that!
When you open up the project, make sure to update the URL to point to your App service - and that’s all you need to do!
using var channel = GrpcChannel.ForAddress("https://your_app_service.azurewebsites.net/");(make sure you add the / at the end of the URL)
and finally let’s run the project.
dotnet run --project BookshopClientThat should return back the list of books as shown below.

That’s it! now you know how to deploy a gRPC .NET web service in Azure 🎉
Conclusion
In this article we looked at how we can leverage Azure App Service to deploy a gRPC server and interact with it. Until next time 👋